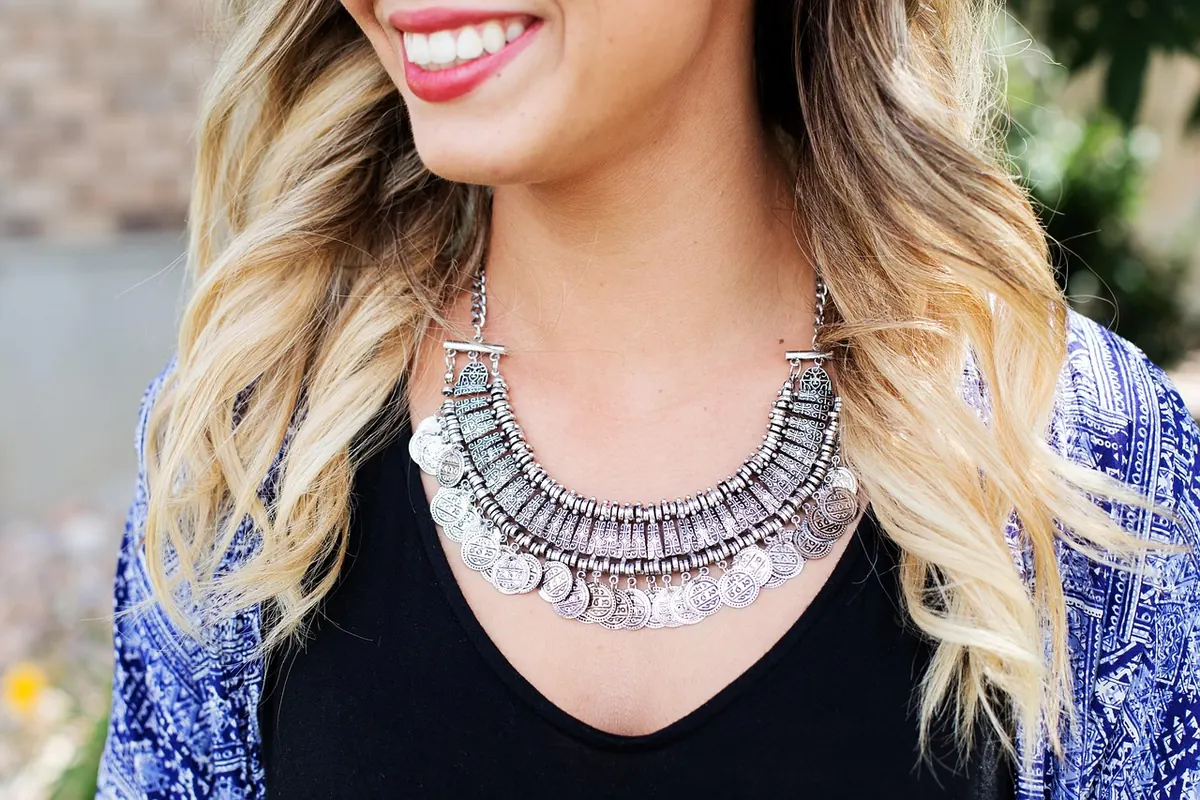
An opal pendant does its best work with company. One chain alone can feel thin above a plain neckline; two or three, spaced with intent, turn a single stone into a composition. The trouble usually arrives with the third chain, when the whole arrangement slides into a knot near your collarbone before lunch. Layering is not about adding more — it is about spacing, weight, and knowing which piece leads.
Start with the chains, not the pendant
Most tangles are decided before the opal is even clipped on. Two chains of similar length and similar weight will find each other by mid-morning; a fine chain resting against a heavier one will quietly climb. Lay your chains flat on a table first and compare three things.
Weight matters more than width. A slim cable chain of a gram or two behaves very differently from a solid curb chain of five or six — the lighter one drifts, the heavier one holds its line. If you want a delicate chain in the stack, put it on the longest layer, where gravity keeps it down and away from the shorter pieces.
Link type decides friction. Box chains and snake chains lie flat and slide smoothly against their neighbours; rope chains, singapore chains and anything twisted tend to catch. One rope chain under two smooth ones is usually fine. Two rope chains together is a knot waiting to happen.
Clasp quality is the unglamorous third point. A lobster clasp that opens under tension will drop a pendant, and a spring ring that has lost its snap lets a chain slip out of the stack mid-evening. Check the clasps on the pieces you plan to layer, not only the ones you wear alone.
Build a length ladder with real gaps
A layered neck looks effortless when the gaps are deliberate. Aim for at least two inches between chains at the front of the neck; any closer and pendants begin to overlap and catch on each other. Four lengths do most of the work.
- 14 to 16 inches: sits at the base of the throat. Best kept bare, or used for a small flat charm that will not swing.
- 18 inches: the classic collarbone line, and a good home for a small to medium opal pendant.
- 20 to 22 inches: drops just below the collarbone, giving an opal room to be seen against skin or fabric.
- 24 to 30 inches: falls over a shirt or knit. This is where a heavier chain or a larger opal can sit without competing with the shorter layers.
If you only own three chains, make them 16, 20 and 24 inches rather than 16, 17 and 18. An inch of difference looks tidy in a jewellery box and turns into a tangle the moment you move.
Let the opal lead, keep the rest quiet
An opal is never a quiet stone. Even a small one shifts colour as you turn, which is the whole point of it. That means the opal should be the loudest thing in the stack, with everything else in a supporting role.
Practically: one opal pendant per layering, two at most if the second is a tiny bezel-set solid in plain metal. Skip the second iridescent piece — a pearl, a moonstone, a labradorite drop. Two shifting surfaces split attention and read as clutter even when the spacing is technically correct. Chain-only layers, a small medallion, a single initial or a thin plain bar all work beautifully beside an opal because they give the eye somewhere to rest.
Metals can mix, but keep it to two at most, and repeat one of them in your earrings or rings so the combination looks chosen rather than accidental. If your opal sits in a distinctive setting — a yellow gold bezel, say — let that metal appear once more in the stack and nowhere else.
Give the stone room to hang free
Opal sits around 5.5 to 6.5 on the Mohs hardness scale: softer than quartz, far softer than diamond or sapphire. In a stack that matters, because pendants knock together whenever you lean forward, and harder stones and faceted metal beads will mark an opal over months and years.
- Keep the opal on a layer where it hangs free, not sandwiched between two chains at the same length.
- Avoid pairing it directly with diamond-cut beads, faceted gemstone strands or heavy textured chains that swing.
- Treat doublets and triplets — thin slices of opal backed with darker material — as more fragile still, and keep them out of the shower and away from long soaking.
- Take the stack off before bed and store each chain separately. An opal left loose in a box with other pieces will pick up scratches.
Hardware that does the untangling for you
Sometimes the simplest fix is a small piece of equipment rather than a new arrangement.
- A layering clasp (sometimes sold as a necklace connector) is a multi-ring clasp that lets you clip two or three chains to one point at the back, so they cannot cross at the nape.
- Necklace spacers or detanglers are tiny silicone or metal beads that sit on a chain and hold two strands a fixed distance apart.
- A front-clasp chain worn backwards puts the clasp at the front as a design feature and separates the chains at the neck.
- Pre-layered necklaces, made as one piece with two or three fixed drops, solve the problem entirely for travel and busy mornings.
If you wear the same three pieces most days, it is worth asking a jeweller to check the jump rings and, where it helps, to add a second ring so two chains can share one anchor point without rubbing.
The clutter test
Tangling is mechanical; clutter is visual. Once a stack stops tangling, check it in the mirror against three questions.
Do the pieces cross when you turn?
If two pendants overlap when you roll your shoulders, they will tangle within the hour. Change a length or move the opal to a different layer.
Does the neckline fight the layers?
A high crew neck and a 20-inch chain cut the neck in half visually. V-necks and scoop necks give a ladder somewhere to live; a turtleneck suits one long chain worn over the fabric, not three short ones tucked under it.
Is there one thing too many?
Usually there is. Take off the shortest chain first and look again. The stack almost always improves.
A five-minute routine before you walk out
- Lay the pieces flat in the order you plan to wear them, longest at the bottom.
- Fasten and unfasten each clasp once to check it still springs properly.
- Put them on shortest first. It is easier to see what you are doing, and the long chains will not catch on the short ones.
- Shake your shoulders and lean forward once. Anything that crosses now will cross all day, so adjust the length or add a spacer.
- Step back three feet from the mirror, then look from arm's length. If the stack reads as separate pieces rather than a knot of metal, you are finished.
An opal rewards a little patience. Give it one clear layer, a quiet supporting cast and enough space to move, and the stone will do the rest of the work — catching light with every turn of your head, exactly as it should.
Photo: estall / Pixabay